
VIDEOGRAPHY
CLICK ON PHOTOS TO LAUNCH VIDEO FILE (.AVI FORMAT)
W H A T ?
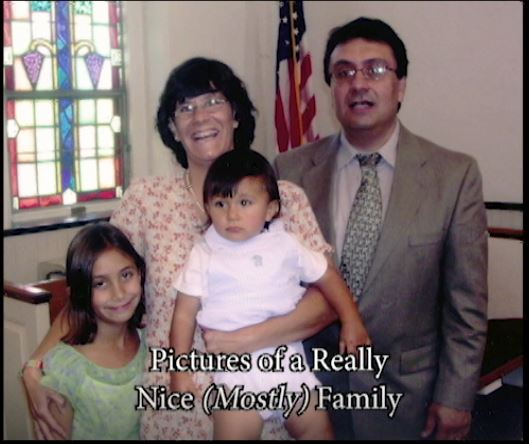
I have always used video production as either the centerpiece or part of my instructional strategies toolbox. When I transitioned to K-12 teaching, I was always looking for way to integrate video into lessons to permit students another avenue for their creativity. Like digital photography, technological advances have made production more accessible and user-friendly. The hardware has become smaller, lighter, and more portable. Cell phones have become the device-of-choice to capture live footage. The choices among editing software are numerous and represent all competency levels. Years ago when I first learn NLE (non-linear editing), I discovered Apple's iMovie and dabbled with Windows MovieMaker (I vastly preferred the former). When I taught introductory production classes or any class that needed to learn how to edit footage, iMovie was always my first choice. I found that students could learn it quickly and get to the truly creative aspects of producing a presentation. With the added layer of sound, video takes photography to the next level of capturing a representation the world that surrounds us. One of the videos at this page represents my family from my unique perspective. My creativity was expressed with the song used in the backing track and how I chose to (somewhat wryly) describe my takes on parenthood. The other video on this page represents a more advanced satirical take on the standard college recruitment film done as a cheesy 60s horror film. This is one type of film that my former production students would make to test their comedic chops. The videos linked above were created using film footage from archive.org, Adobe Premiere, which was the app that I "graduated" to after many years of using iMovie exclusively.
S O W H A T ?
Previously, I had supplemented a social studies unit on tropical rainforests with a video component. My purpose was to assist students in capturing their reports on animals native to those regions. In addition to their written reports delivered on camera, they constructed 3D models of the animal (many of them life-sized). The focus on their "reporting" was to raise awareness of these distant habitats in addition to facts about the animal. The ISTE standard that could be included in this lesson is 3d: "Students build knowledge by actively exploring real-world issues and problems, developing ideas and theories and pursuing answers and solutions." After the videos were completed and compiled into a longer self-contained segment, it was broadcast via cable access TV. The results were two fold: students received the satisfaction being able to report their findings to the public at large. Secondly, the reporting was informative and educational. If this project was to be conducted presently, the "publishing" aspect would more likely be some video streaming service, like YouTube, YouTube Kids, Instagram, Vimeo, or the more recent Facebook Watch. More outlets are always being developed and featured for public use.
N O W W H A T ?
In the previous section I mentioned the term "representation" in relation to capturing and editing a view of the world that is unique to the student. The students in the rainforst video created their vision of their animal both visually and verbally (we added the jungle sound effects afterwards. It was a close to an authentic experience as some of my students have had, outside of visiting a zoo. But this is how students build understandings, moving from the purely abstract to the more "real" or authentic experiences. Video can create and preserve more realistic experiences for students, which of course, makes their learning more meaningful and fun!
C O N T E N T
![]()
![]()
![]()
![]()
![]()
![]()
![]()